Photography Equipment for Case Documentation in Yaletown

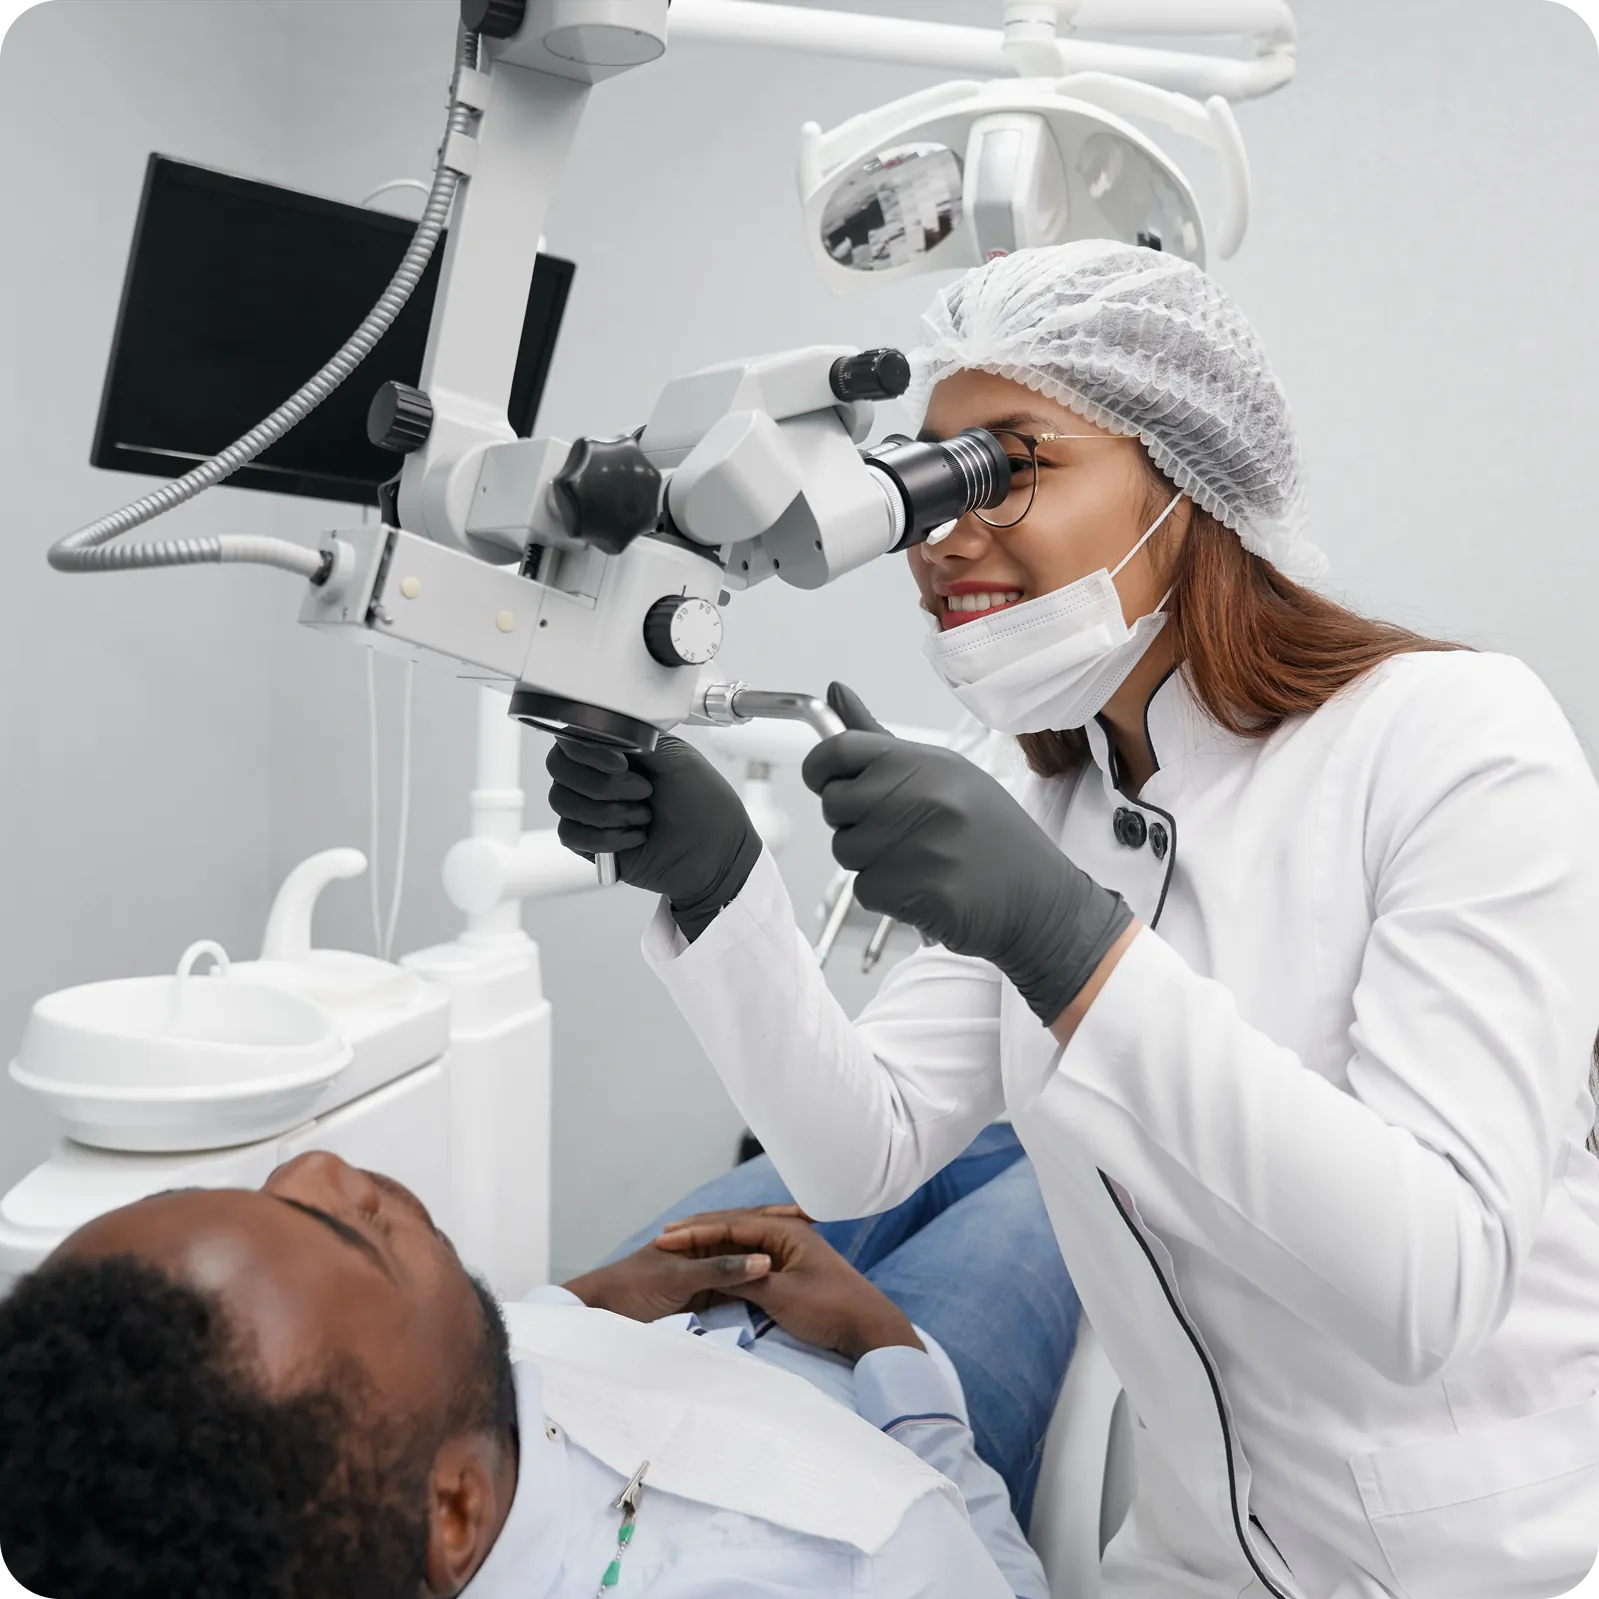
Dental photography supports documentation, treatment planning, patient communication, and case presentations. Consistent imaging helps record clinical details, support before-and-after comparisons, and track cases over time.

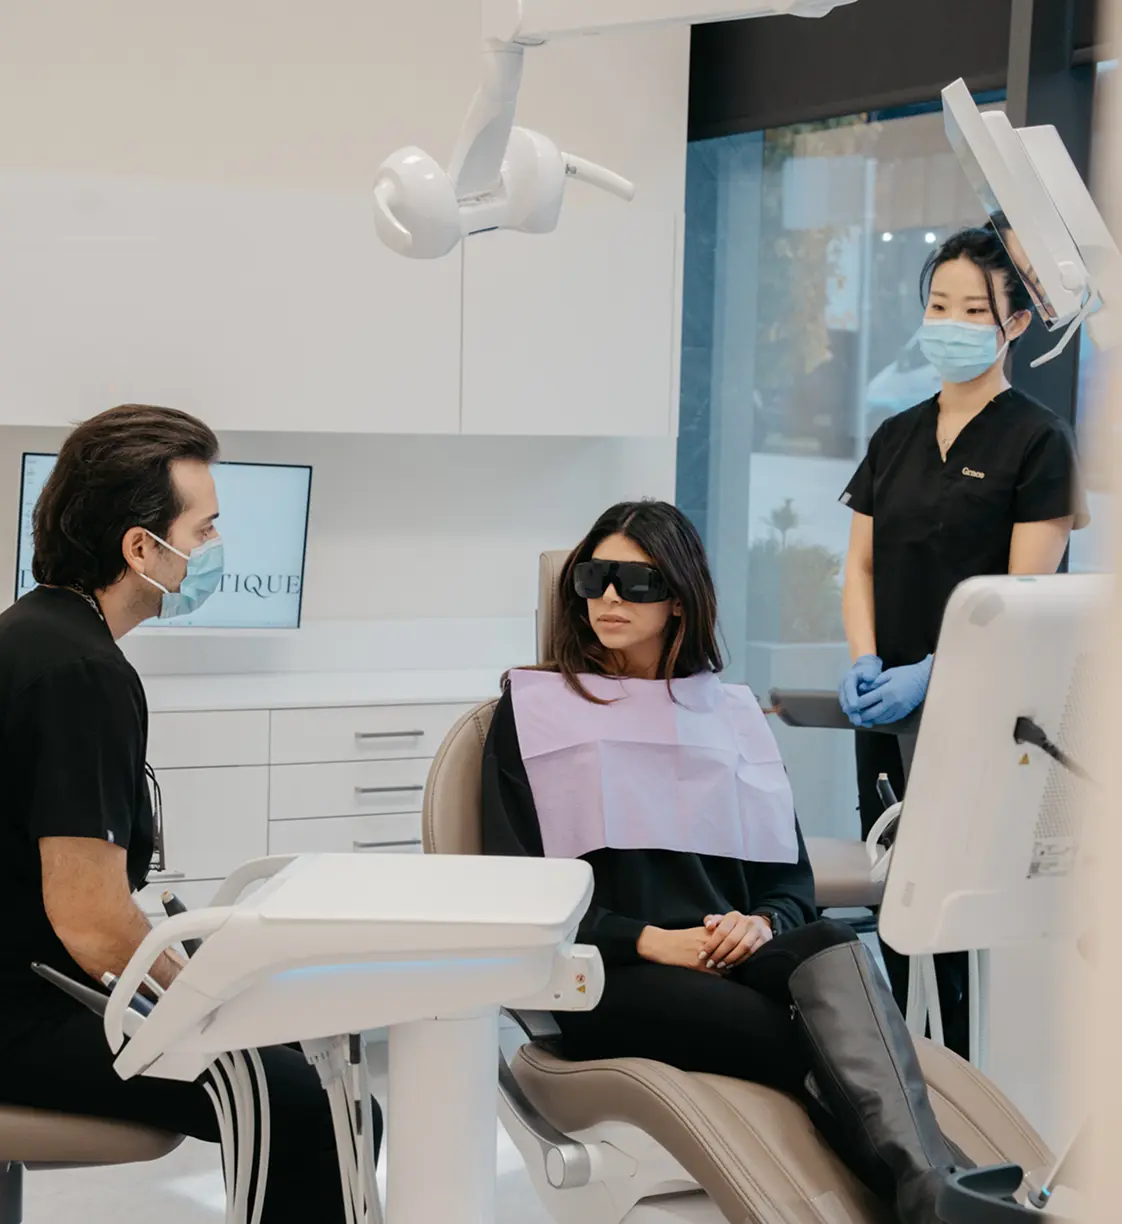
At Yaletown Dental Boutique, photography is part of a structured approach to case documentation, supporting clear, consistent clinical images across treatment stages.

Rated as “Excellent” (130 reviews)

1 min read

Dental photography is essential for accurate case documentation, patient communication, and treatment planning. This guide covers the key equipment used in modern dental photography, including DSLR cameras, macro lenses, lighting systems, retractors, mirrors, and supporting tools. These tools support clear, repeatable imaging that improves clinical documentation and communication.

Why Dental Photography Matters?

Dental photography is more than documentation; it is a key clinical and communication tool. It helps:

Accurate Clinical Records

High-quality dental photographs create precise records that support diagnosis, track treatment progress, and provide reliable documentation for long-term patient care.

Better Patient Understanding and Trust

Clear visual images help patients see and understand their oral conditions, making explanations more transparent. This builds trust, reduces confusion, and encourages more informed decisions about recommended treatments.

Increased Case Acceptance

When patients can see clear images of their oral condition, it can make treatment discussions easier to understand and support more informed decision-making.

Stronger Communication and Professional Growth

Detailed images enhance communication with specialists and referrals while also supporting case presentations, education, and marketing. They help build a strong professional portfolio that documents clinical work and supports professional communication.

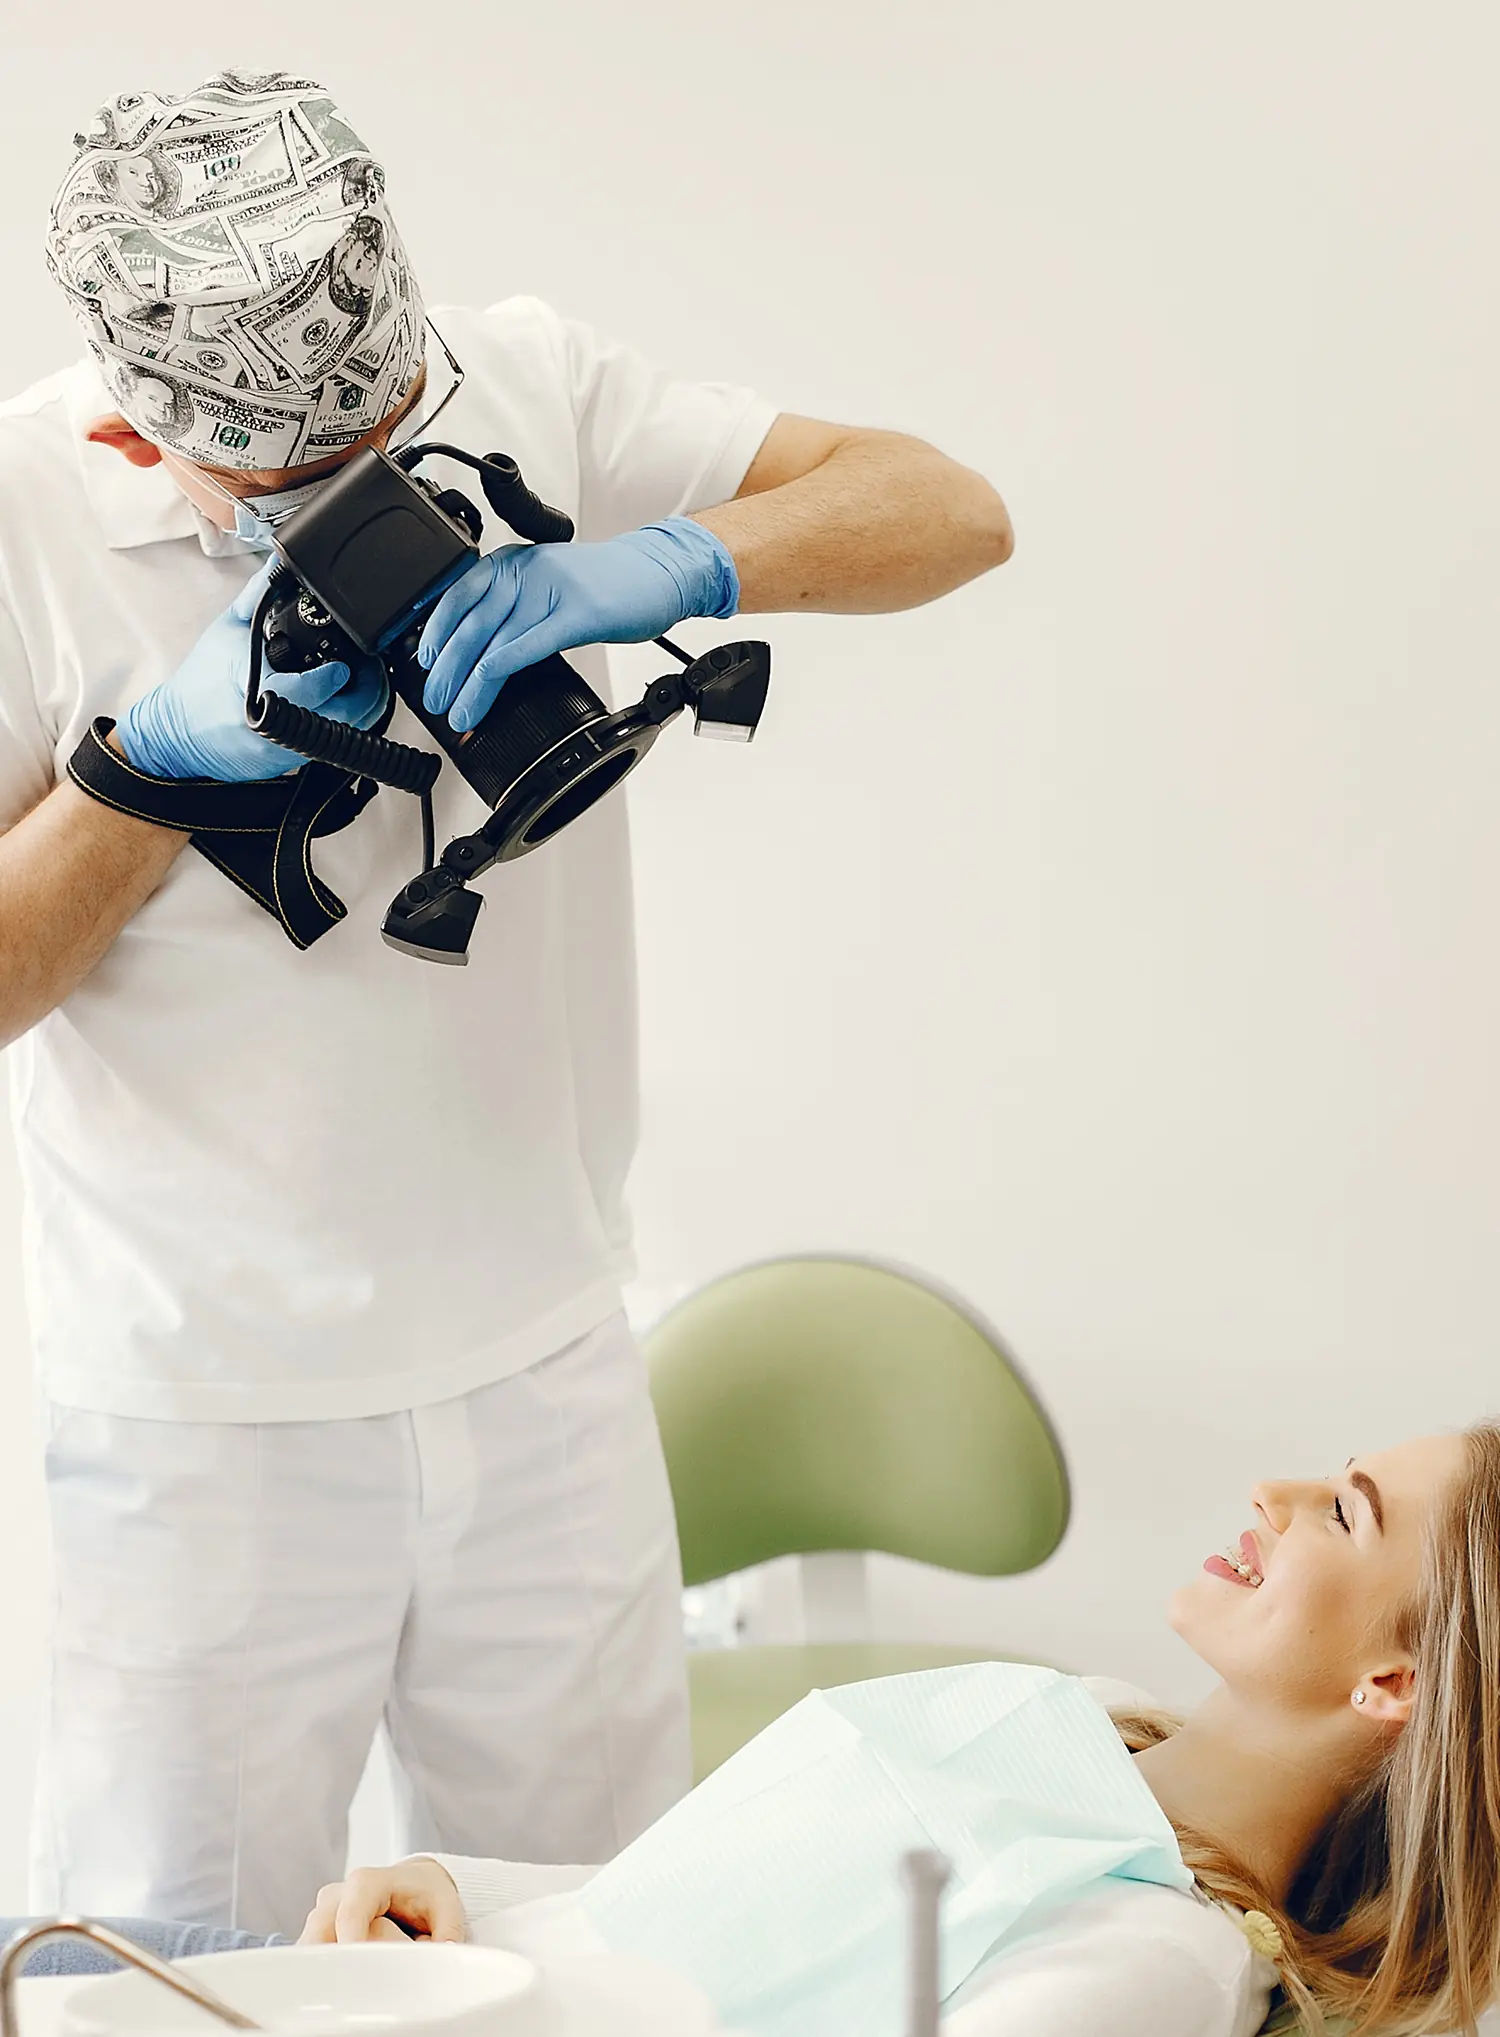
DSLR Cameras [The Heart of Dental Photography]

DSLR cameras are widely used in dental photography because they offer precision, control, and consistency needed for accurate and detailed clinical documentation.

What is a DSLR Camera?

A DSLR is a digital single-lens reflex camera that uses mirrors and interchangeable lenses to capture highly detailed clinical images.

Why DSLRs Are Preferred in Dentistry?

They provide detailed image capture, manual control, and flexibility, making them well-suited for consistent intra-oral and extra-oral clinical photography. In practice, many clinics standardize DSLR setups to maintain consistency between cases and streamline workflow.

High Image Quality

DSLRs produce sharp, high-resolution images with excellent detail, allowing clinicians to document subtle variations in teeth and tissue.

Manual Controls and Flexibility

Manual settings allow precise control of exposure, focus, and lighting, which helps produce consistent clinical images. Compared to point-and-shoot cameras or smartphones, DSLR systems offer greater control and reliability across different cases.

Interchangeable Lenses and Macro Capability

DSLR systems support macro lenses, essential for capturing detailed close-up intra-oral images with clarity, accuracy, and minimal distortion.

Choosing the Right DSLR Features

Look for high resolution, strong macro compatibility, and good lighting adaptability to ensure reliable, consistent, and professional dental photography results.

Begin Your Smile Journey

with Dr. Hadianfar

Dr. Sasan Hadianfar, General Dentist

Lenses for Close-Up Dental Photography

Macro lenses are essential in dental photography because they allow clinicians to capture sharp, highly detailed images of teeth and soft tissue at close range without losing clarity or accuracy.

Importance of Macro Lenses

Macro lenses are designed for close-up work, making them ideal for intra-oral photography where fine details of enamel, restorations, and soft tissues must be captured with precision.

Recommended Focal Length Range

A 90–105mm macro lens is commonly recommended in dentistry because it provides an optimal balance of working distance, magnification, and comfort for both clinician and patient positioning.

Why Macro Matters for Detail?

Macro capability ensures high-resolution imaging of small anatomical structures, allowing clinicians to document subtle changes, support identification and monitoring of oral conditions, and communicate treatment needs more effectively to patients.

Choosing the Right Dental Lens

When selecting a lens, dentists should prioritize sharpness, minimal distortion, appropriate working distance, and compatibility with their camera system to ensure consistent, high-quality clinical documentation.

Lighting [Ring Flashes, Twin Lights, and LED Options]

Here’s a breakdown of the most common lighting options used in clinical documentation and how each one performs in practice.

Why Lighting Matters in Dental Photo Quality?

Lighting is critical in dental photography because it determines clarity, color accuracy, and detail visibility. Proper lighting supports consistent image capture and makes clinical photographs suitable for documentation and patient communication.

Ring Flash Lighting

Ring flashes provide even, shadow-free illumination that is easy to use, making them ideal for beginners, though they can sometimes produce a flat, less dimensional appearance in images.

Twin Flash Lighting

Twin flash systems offer better depth and shadow control, producing more natural-looking clinical images, but they require practice to position correctly for consistent and balanced lighting results.

LED Continuous Lighting

LED lights are versatile for photo and video, offering continuous illumination, but may lack the intensity needed for crisp intra-oral images. Lighting should remain consistent across cases, as variation can affect shade accuracy and detail visibility.

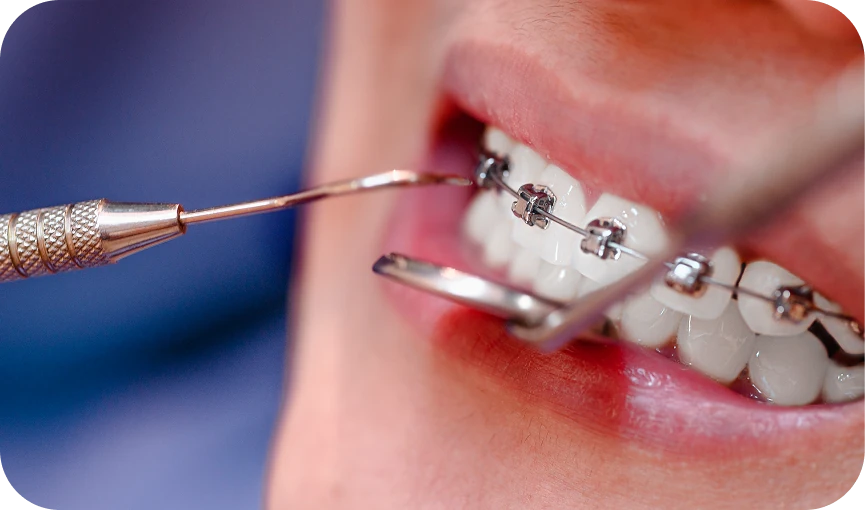
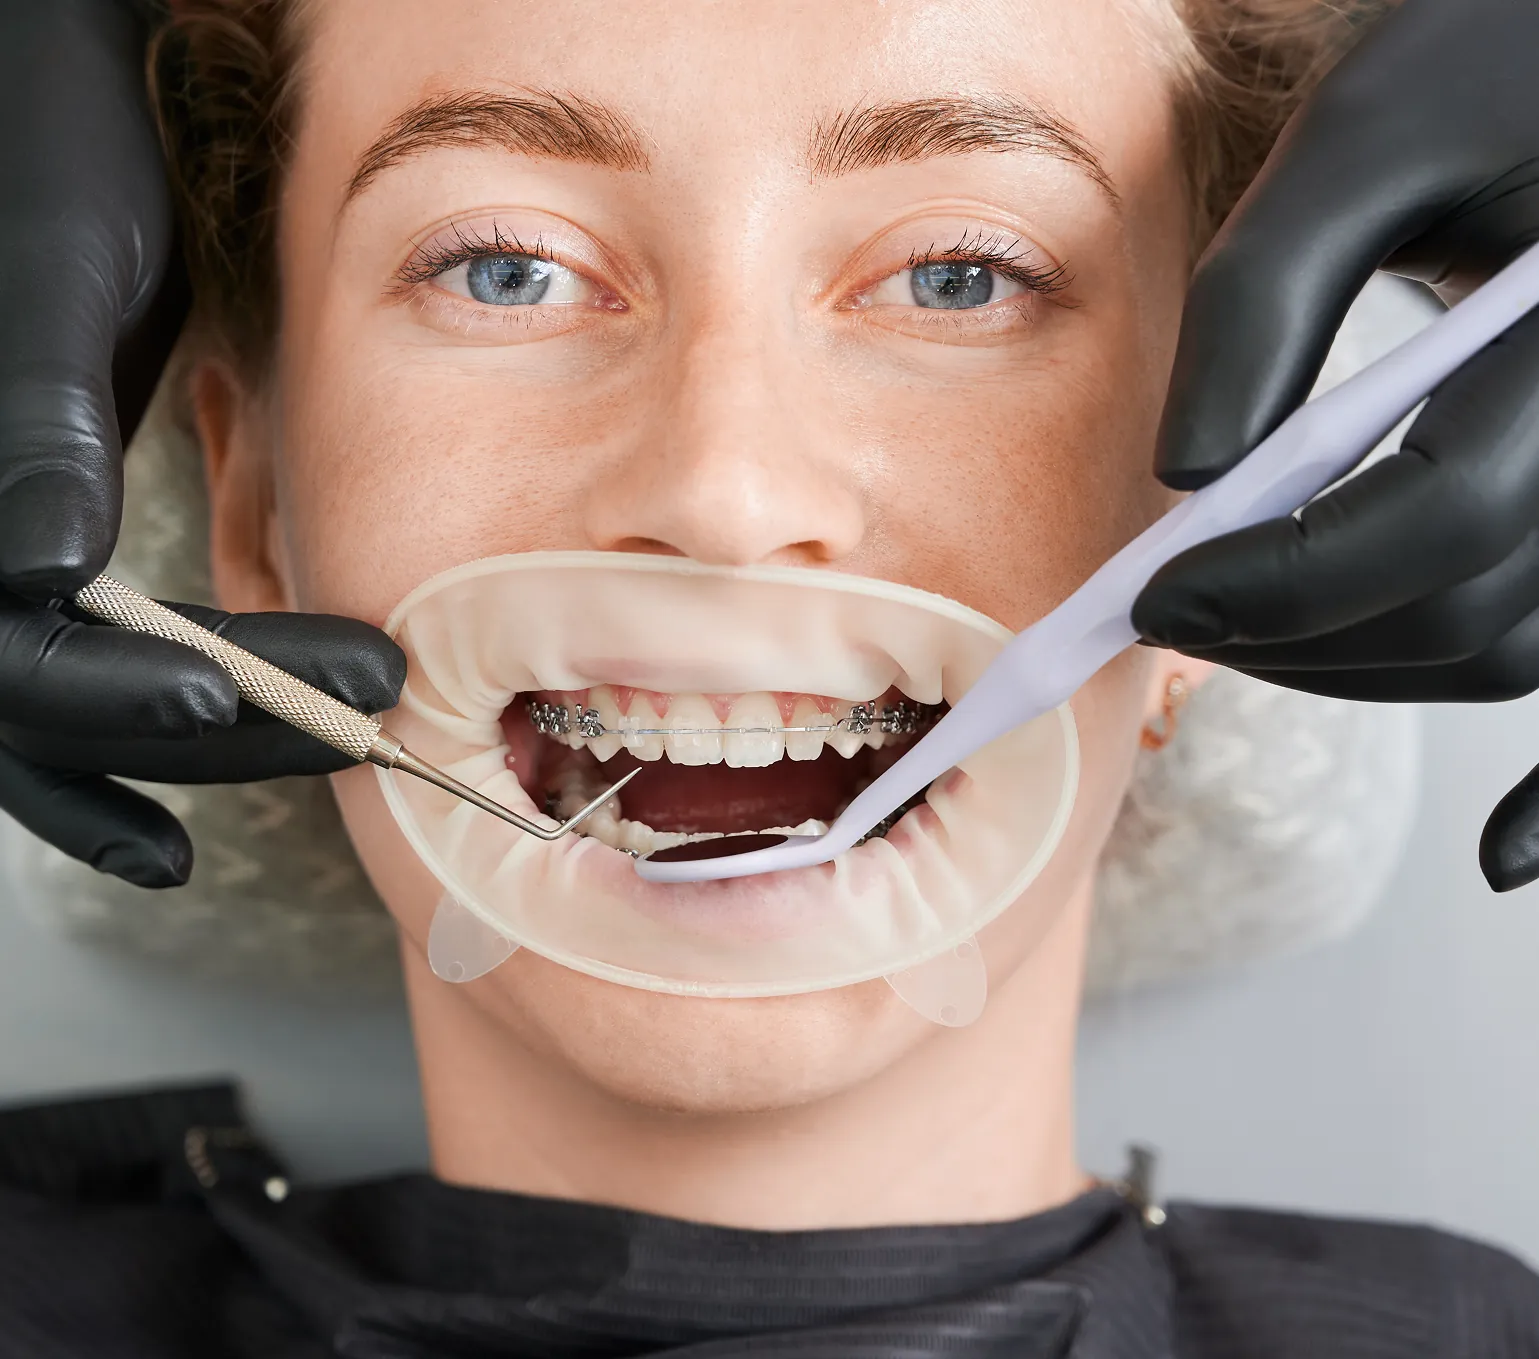
Retractors [Getting the Perfect View]

Retractors play a key role in achieving clear, unobstructed dental images by holding soft tissues away from the teeth and gums. Below, you’ll find how they work, the different types available, and tips for effective use.

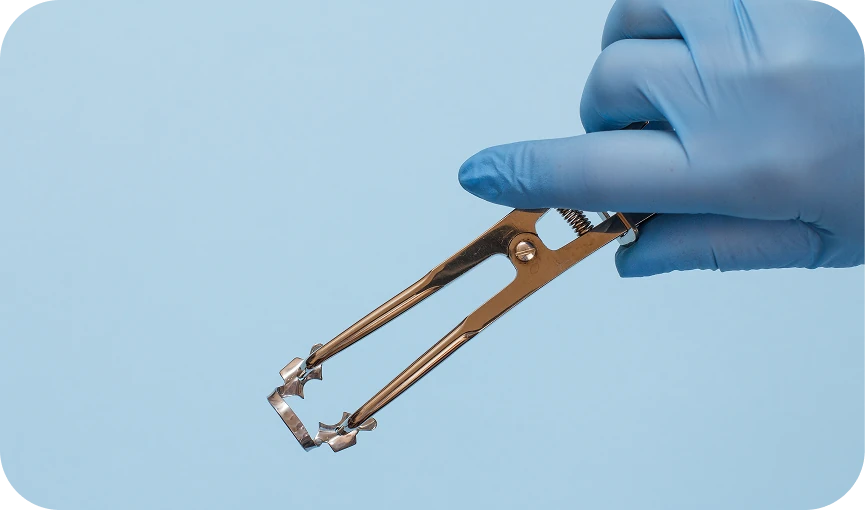
What Are Dental Retractors?

Dental retractors are instruments designed to hold soft tissues away from teeth and gums during photography. They help create a clear field of view, allowing clinicians to capture detailed, well-lit images without obstruction from lips, cheeks, or tongue.

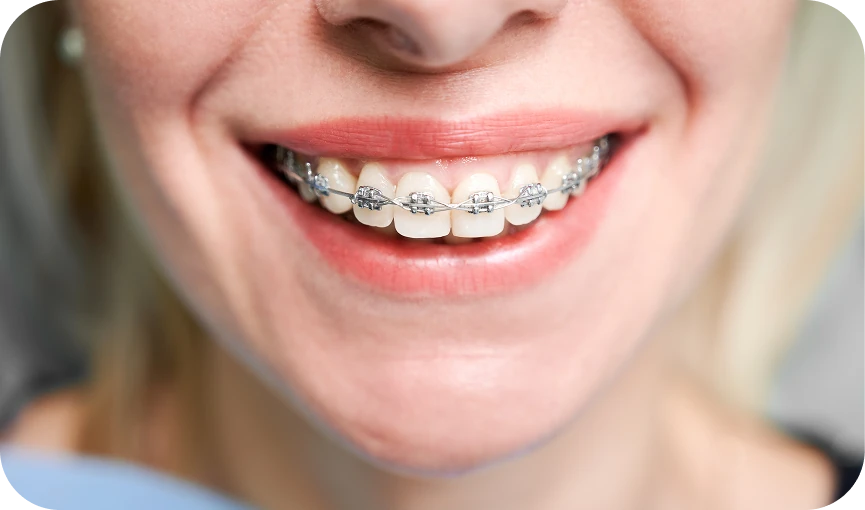
Why Retractors Are Essential?

Retractors expose key oral structures, including lips, cheeks, and tongue, ensuring full visibility of teeth and surrounding tissues. This clarity is critical for documentation, diagnosis, and producing consistent, high-quality clinical photographs for treatment planning and communication.

Types of Dental Retractors

Common types include cheek, lip, and combined retractors, each designed for different areas of the mouth. In practice, clinicians often use multiple sizes to balance visibility and patient comfort while maintaining consistent positioning across cases.

Tips for Effective Use

For best results, ensure patient comfort by gently positioning retractors and avoiding excessive force. Proper placement improves visibility, while consistent technique helps achieve clear, distortion-free images that enhance documentation quality and overall clinical photography outcomes.

Important Information for

CDCP Patients

Treatment under the Canadian Dental Care Plan is not fully covered. A co-payment will apply.

Dental Mirrors [Beyond Reflection]

Dental mirrors are indispensable in clinical photography, allowing you to capture angles and surfaces that are otherwise difficult to see directly. They play a key role in improving visibility, access, and overall image quality in dental documentation.

Capturing Hidden Intra-Oral Details

Dental mirrors enable clinicians to photograph lingual anatomy, occlusal surfaces, and interproximal areas with clarity, providing essential views that support comprehensive documentation and accurate diagnosis in dental photography.

Types and Reflective Coatings

High-quality mirrors vary in shape and size, with advanced reflective coatings that enhance image sharpness. Anti-fog features are especially useful for maintaining clarity during longer procedures and intra-oral photography sessions.

Handheld vs Handleless Mirrors

Handheld mirrors offer control and flexibility, while handleless mirrors allow easier positioning in tight spaces. Choice depends on access and technique, and mirrors are often warmed or treated with anti-fog solutions to maintain clarity during intra-oral photography.

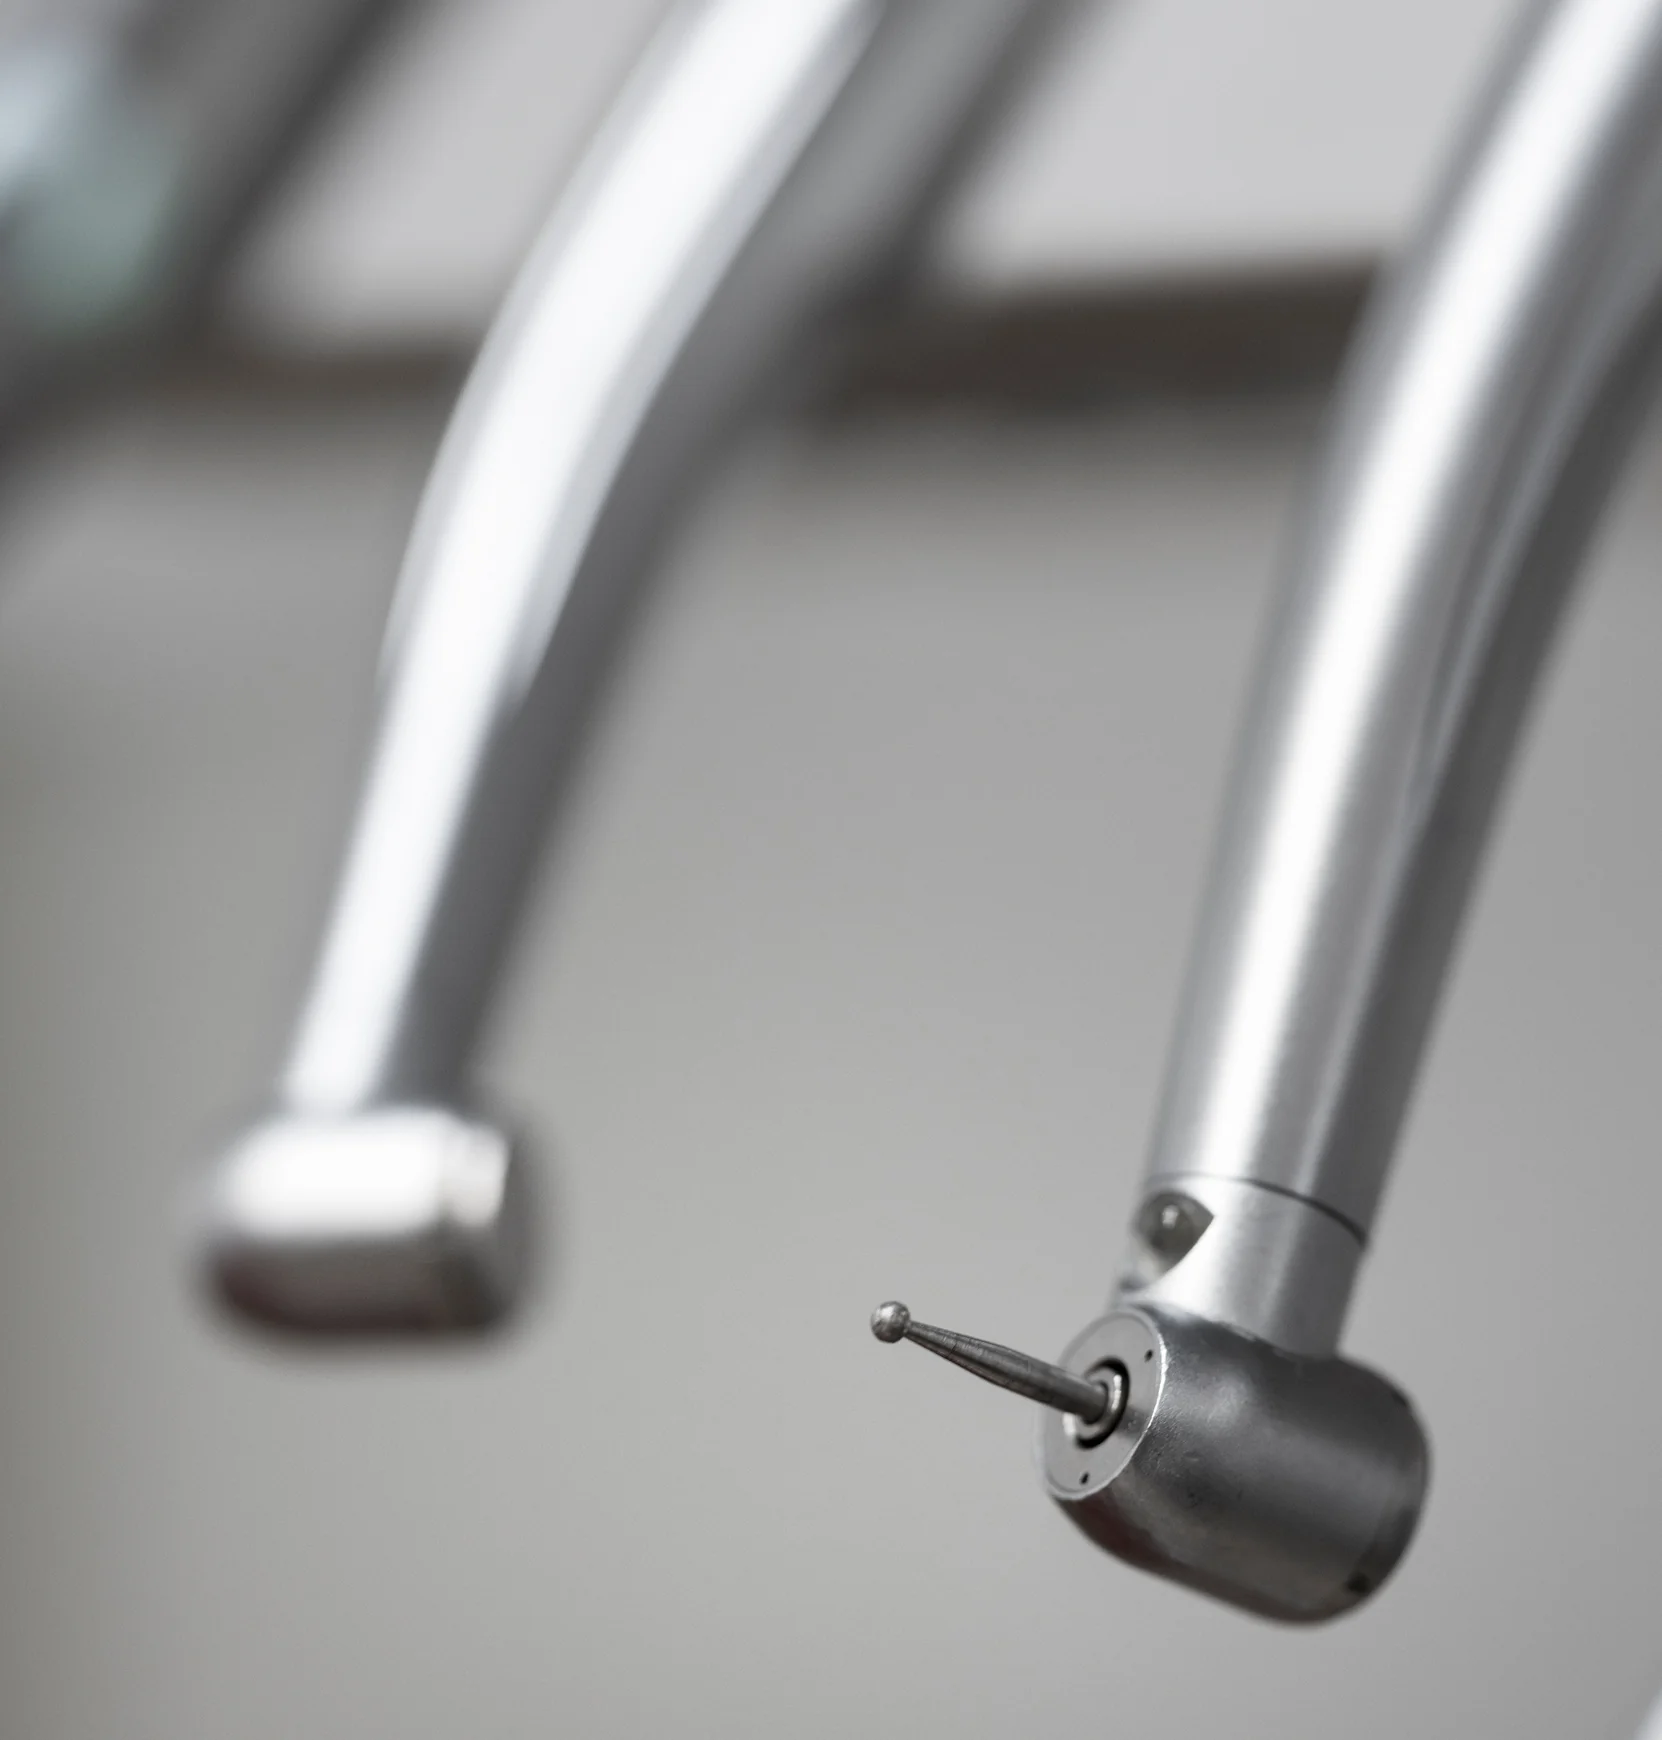
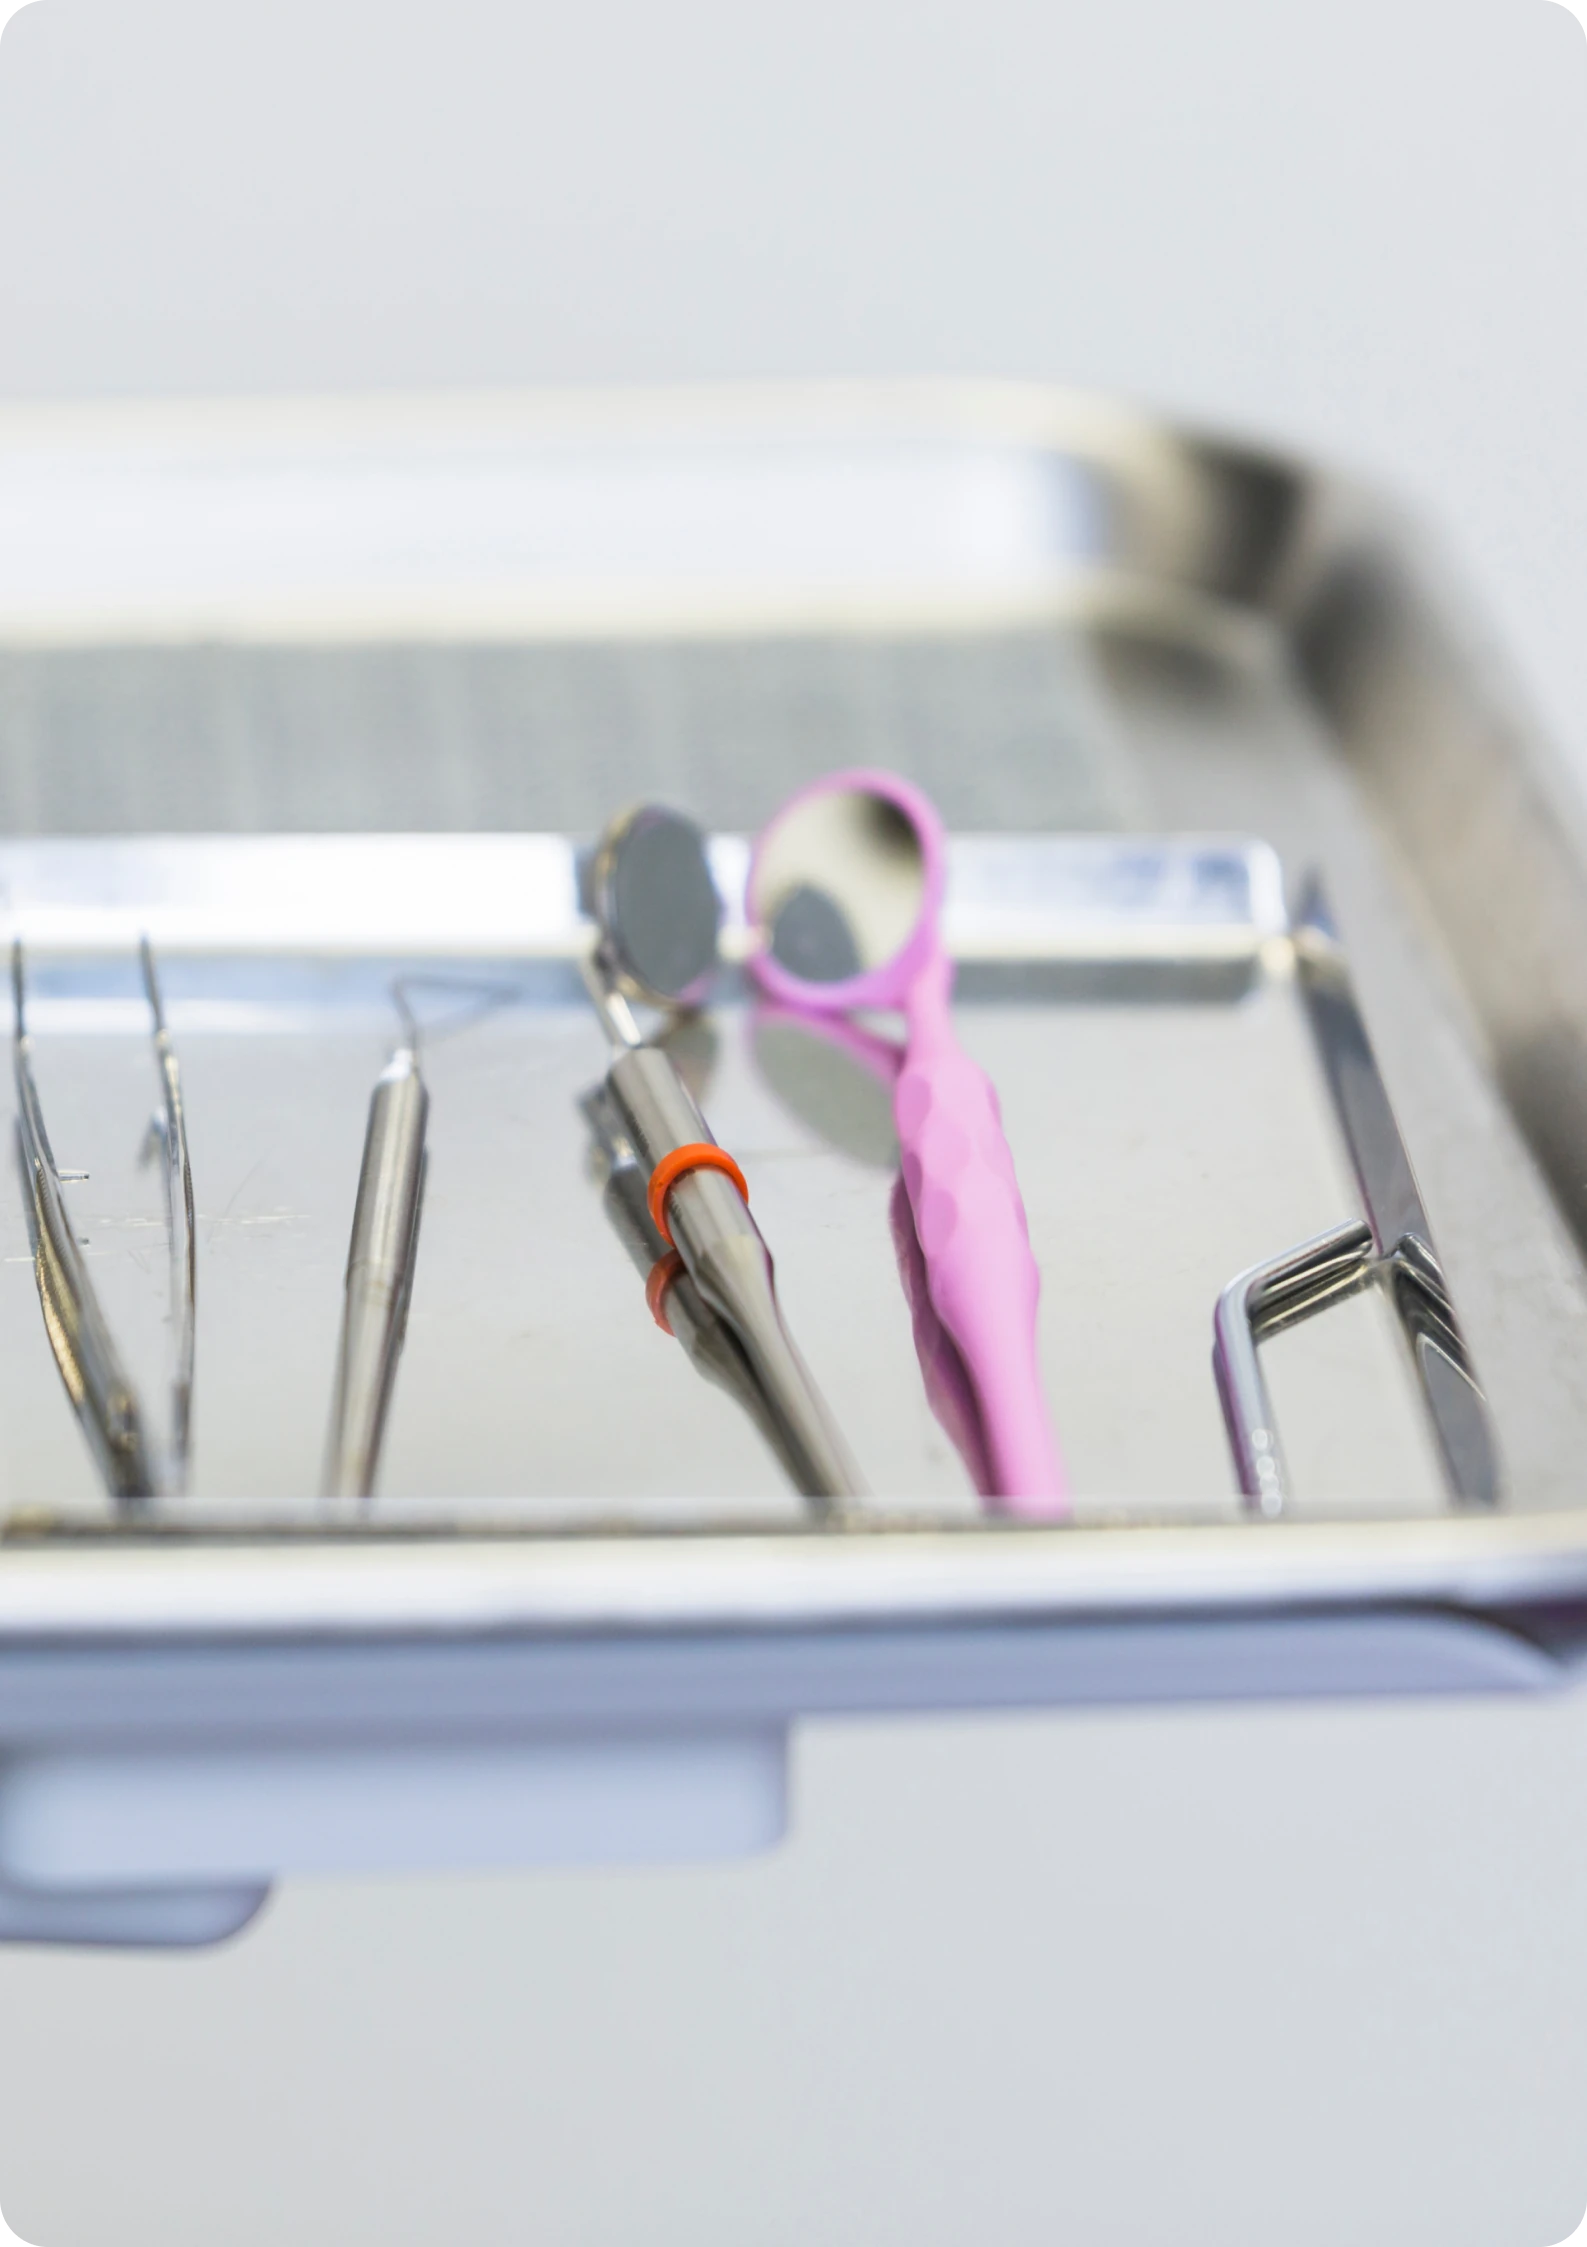
Other Essential Tools for Case Documentation

Beyond cameras and lighting, smaller accessories play a crucial role in achieving consistent, high-quality dental images. These tools improve positioning and clarity, helping produce standardized clinical photographs.

Cheek hooks help maintain consistent retraction, improving visibility and ensuring standardized positioning across dental photography sessions.

Depth markers assist in maintaining accurate spatial reference, helping clinicians document changes and compare treatment progress effectively.

Positioning guides support consistent angles and framing, ensuring reproducible images that are reliable for clinical records and presentations.

Background boards and contrast tabs enhance image clarity by isolating teeth, improving color accuracy and overall visual consistency.

Disposable accessories support hygiene protocols while maintaining efficiency, ensuring safe, clean, and consistent photography procedures in clinical environments.

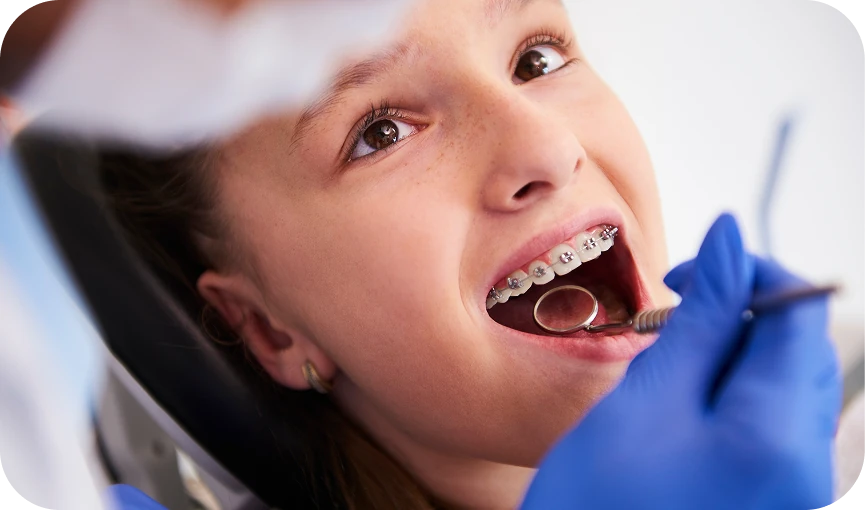
Does It Hurt or Cause Discomfort for Patients?

Dental photography is typically well tolerated when performed with appropriate technique and care.

When used appropriately, retractors and mirrors are designed to hold soft tissues to support visibility of intra-oral structures. Efficient workflows may help reduce the need for repeated images and streamline the photography process.

Clear communication, careful placement of instruments, and proper patient preparation all play an important role in creating a more relaxed and positive experience while still achieving high-quality, consistent clinical images.

  • Gentle retraction prevents unnecessary pressure or irritation
  • Most patients adapt quickly during short photo sessions
  • Proper technique avoids repeated image captures
  • Clear instructions help patients feel more comfortable and at ease

Book a Consultation for an Exact Quote

Because every case is unique, the best way to determine your cost is through a professional consultation. Contact our team to schedule your personalized assessment.

Practical Tips for Better Dental Photos

Strong dental photography depends not just on equipment, but on consistent technique. These practical tips will help you improve image quality, efficiency, and standardization in everyday clinical documentation.

Consistent Framing and Background

Use consistent framing and a neutral background for each patient to support standardized and comparable clinical documentation images.

Standardized Angles

Maintain consistent shooting angles for intra-oral and extra-oral photos to ensure reproducibility, accurate comparison, and reliable treatment progress tracking.

Routine Lighting Checks

Check lighting before each session to ensure even exposure, correct color balance, and clear visualization of all clinical details captured.

Cleaning and Patient Preparation

Sterilize equipment properly and prepare patients by explaining the process and positioning them comfortably for clear, efficient, high-quality photography results.

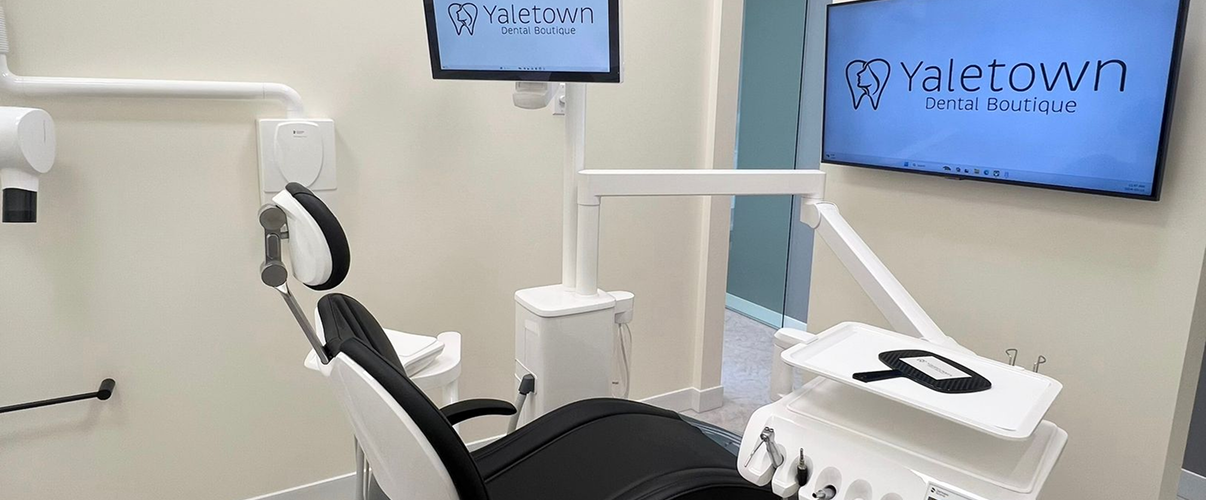
Choosing the Right Equipment for Your Practice in Yaletown

For dental practices in Yaletown, investing in photography equipment should align with clinical workflow, case complexity, and documentation goals.

Why Equipment Selection Matters?

Choosing appropriate photography equipment supports image consistency, workflow, and clear clinical communication. For practices in Yaletown and downtown Vancouver, where presentation standards are high, reliable imaging plays an important role in documentation and patient understanding.

Matching Tools to Practice Needs

Equipment should match practice type, case complexity, and documentation goals. Balancing quality with budget ensures clinicians achieve reliable results without overinvesting in tools that may exceed practical clinical requirements.

Yaletown Dental Boutique Approach

At Yaletown Dental Boutique, clinical photography is standardized across cases using consistent camera setups, lighting protocols, and positioning techniques. This structured approach supports reliable documentation, clearer case communication, and more predictable treatment planning.

What Our Cosmetic Patients Are Saying?

  • Zalha Fazal

    Hands down the best dental services in town. Highly recommend the clinic for anyone wanting to visit a dentist to learn better about maintaining oral health and getting the clean up. Had a wonderful experience with the hygienist Amir who was very patient and did a wonderful job.
  • Travis Battaglia

    always an amazing experience!
  • Camila Pérez ciribe

    Amir a the rest of the team has been incredible today. Best day in the dentist ever!
  • Jenny Wong

    Everyone was so nice and the clinic is brand new 🙂
  • Gurjit Dhadda

    Amir was great! Wonderful service!
  • Eve Plante

    Everything was perfect! 🙂
  • Priyanka Pahari

    First time at this location, I loved the experience. Staff is amazing and so is the service. :))
  • Emilio Suarez

    Very friendly and polite staff. They made Ure I was comfortable

    Final Thoughts – Choosing the Best Equipment for Case Documentation

    Effective dental photography comes from the right combination of equipment and consistent technique. Together, they improve image quality, clinical accuracy, and workflow efficiency.This can support clearer patient communication, more consistent case records, and better-informed treatment discussions. Investing in appropriate tools helps improve documentation quality and workflow consistency.

    At Yaletown Dental Boutique, dental photography is treated as a core part of clinical workflow, with standardized equipment and techniques used to support clear communication, accurate records, and well-structured treatment planning.

    Visit Us

      Contact

      info@yaletown.dental
      205 Smithe Street
      Vancouver, BC V6B 2P4

      Hours

      Mon–Fri: 9:00 am – 5:00 pm
      Saturday: 9:00 am – 4:00 pm
      Sunday: Closed

    FAQs

    Do I need a DSLR for dental photography?

    What’s the difference between ring flash and twin flash?

    Can I use an iPhone for clinical case documentation?

    Is training required to use dental photography equipment?

    What’s the best lens for intra-oral photos?

    How do retractors improve image quality?

    Request an Appointment Now!